Today was my first day back in the kitchen after having our tile floors and backsplash removed and replaced—and wow, what a difference! My kitchen feels so much lighter and brighter now without the nearly black tile backsplash. It’s amazing how much that change lifted the space.
I started my blog before commercial 1:1 gluten-free flour blends were available. Many of my older recipes use individual flours because, back then, that was all I had to work with. At any given time, I had bags of brown and white rice flour, sorghum, millet, buckwheat, corn flour, and multiple starches in my pantry. It worked, but it definitely isn’t practical for most people. That’s why I’ve been slowly updating my older recipes to use modern blends like King Arthur Measure for Measure and Bob’s Red Mill 1:1.
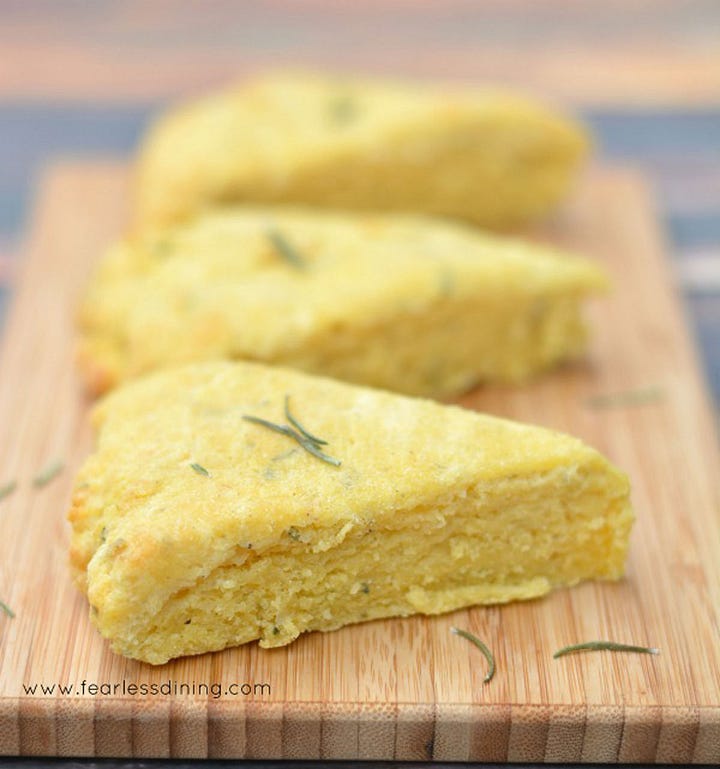
Here’s a look back at the original scone photos from 2018:


Gluten-Free Cheddar Scones
started with the cheese scones. The original recipe used a blend of sorghum flour, corn flour, tapioca starch, and xanthan gum. The flavor was amazing, but I wanted to simplify it using Bob’s Red Mill 1:1 Gluten-Free Flour Blend.
One of the fun things about recipe testing is that I get to adapt based on what I have on hand—just like many of you do! The original version used Fontina cheese, but I didn’t want to run to the store mid-test. I had a Mexican three-cheese blend in the fridge, so I used that along with a sprinkle of dried French thyme. That’s the beauty of this recipe—you can easily change up the flavor with different cheese and herb combos.
I calculated the total amount of flour and starch from the original version and swapped in an equivalent amount of the 1:1 blend. The dough turned out a little wetter than expected, so I added an extra ¼ cup of flour. I was a bit worried the scones wouldn’t have the same golden color without the corn flour, but they baked up beautifully—golden and flaky!


Gluten-Free Sweet Potato Scones
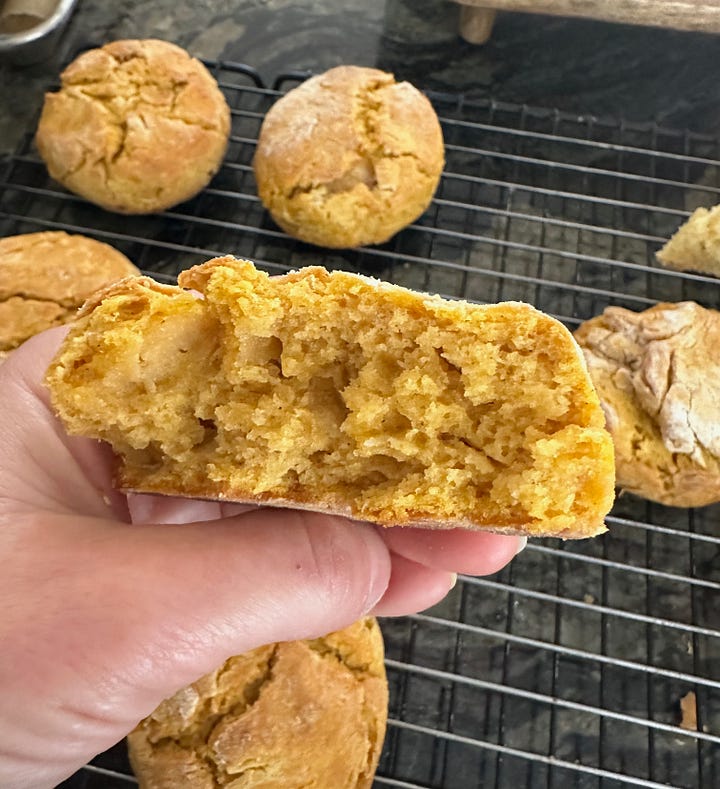
Next up was the old gluten-free sweet potato scones recipe. This one was trickier to convert. Even after reducing the amount of sweet potato puree, the dough was still very wet. That’s both good and bad—good because it meant more scone dough to work with, but bad because the extra moisture kept the scones from rising as much as I’d hoped. They spread out instead of puffing up.
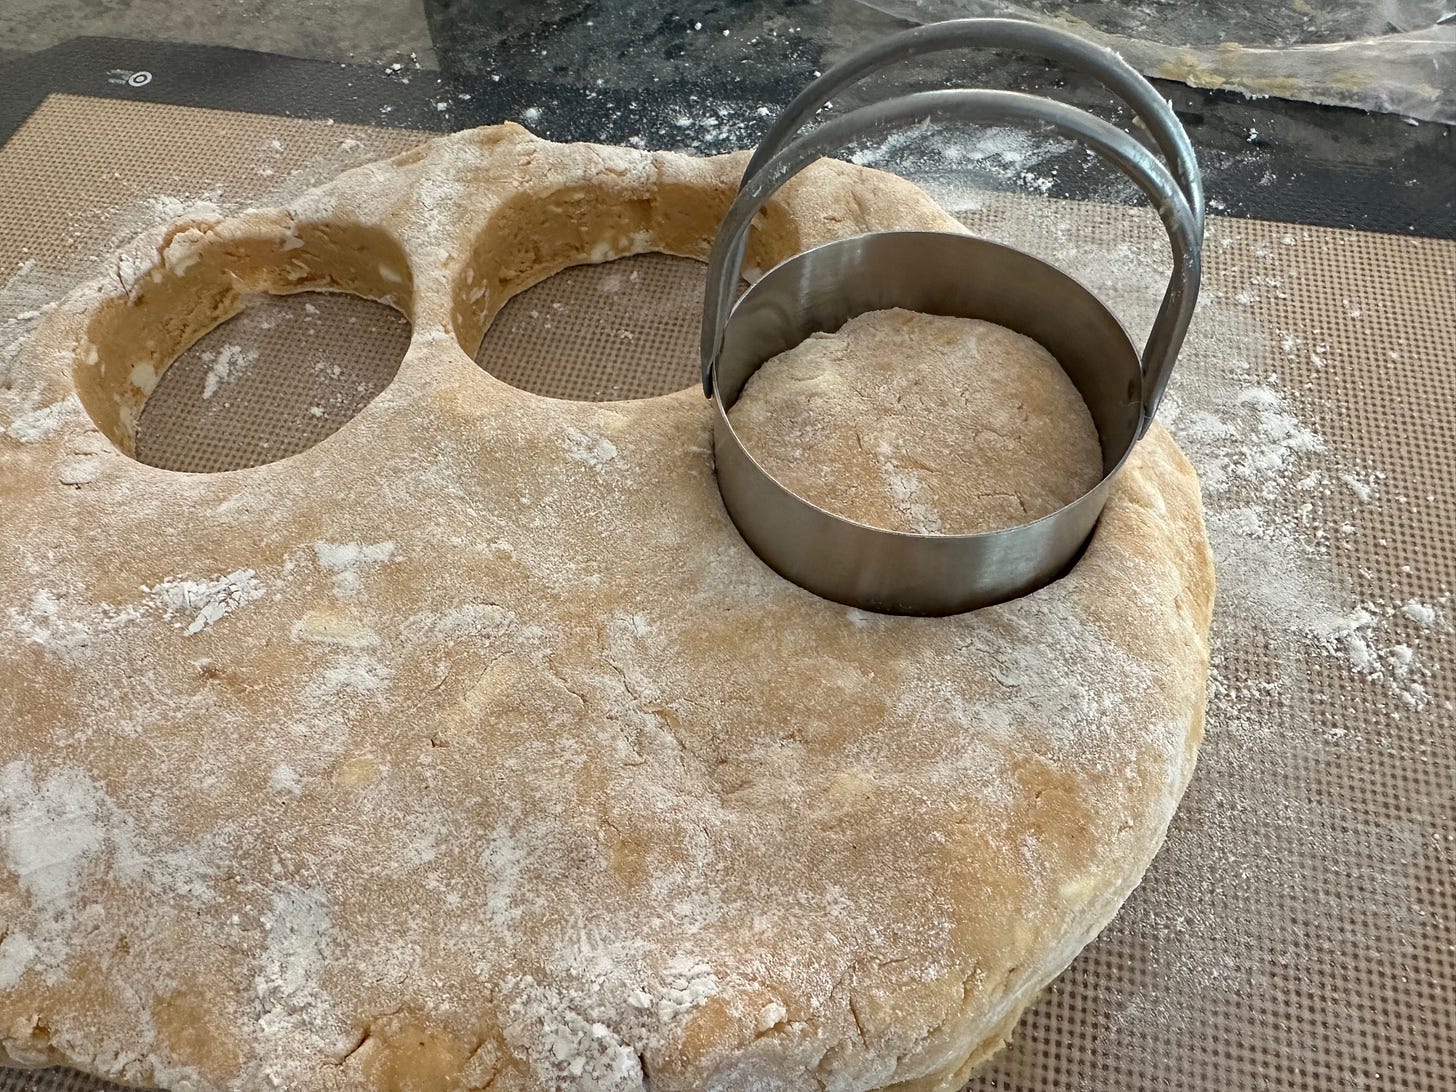
I also wasn’t happy with the original photos, so I switched from wedge shapes to using a biscuit cutter for a round look. One important tip if you're doing this: don’t twist the cutter when pressing it into the dough. Just push straight down and lift straight up. Twisting seals the edges and keeps the scones from rising properly.
One big tip when using biscuit cutters is to NOT twist the cutter out of the dough. Push it down straight and lift it out straight. Twisting seals the edges, inhibiting the rise of your biscuits or scones.


Here are a couple of photos of the new sweet potato scones. They didn’t rise super high, but the inside is incredibly flaky and tender. Honestly, I’m still debating whether to retest the recipe one more time for better lift in the photos... but they taste amazing and those flaky layers are just right.
I’m off to finish updating both posts so you can grab the new versions on the blog and give them a try! I’d love to hear what you think once you make them.
👉 Get the Gluten-Free Cheese Scones recipe.
👉 Get the Gluten-Free Sweet Potato Scones recipe.


